When I was young, I used to love Western food. Anything that wasn't Asian, I'd love. As I have gotten older, I feel more and more connected with my culture. I can't go a week now without having some sort of Asian cuisine. While I am always trying to learn how to cook Chinese food, it just isn't easy to master.
Luckily, there are many sauce and spice packets on the market now that can replicate the flavours of a dish that was made from scratch. I have tried other brands for Indian cuisine, so when I saw Lee Kum Kee, a trusted Chinese brand, I had to give it a try.
The packet was $0.99, and it's meant to serve 4 people.
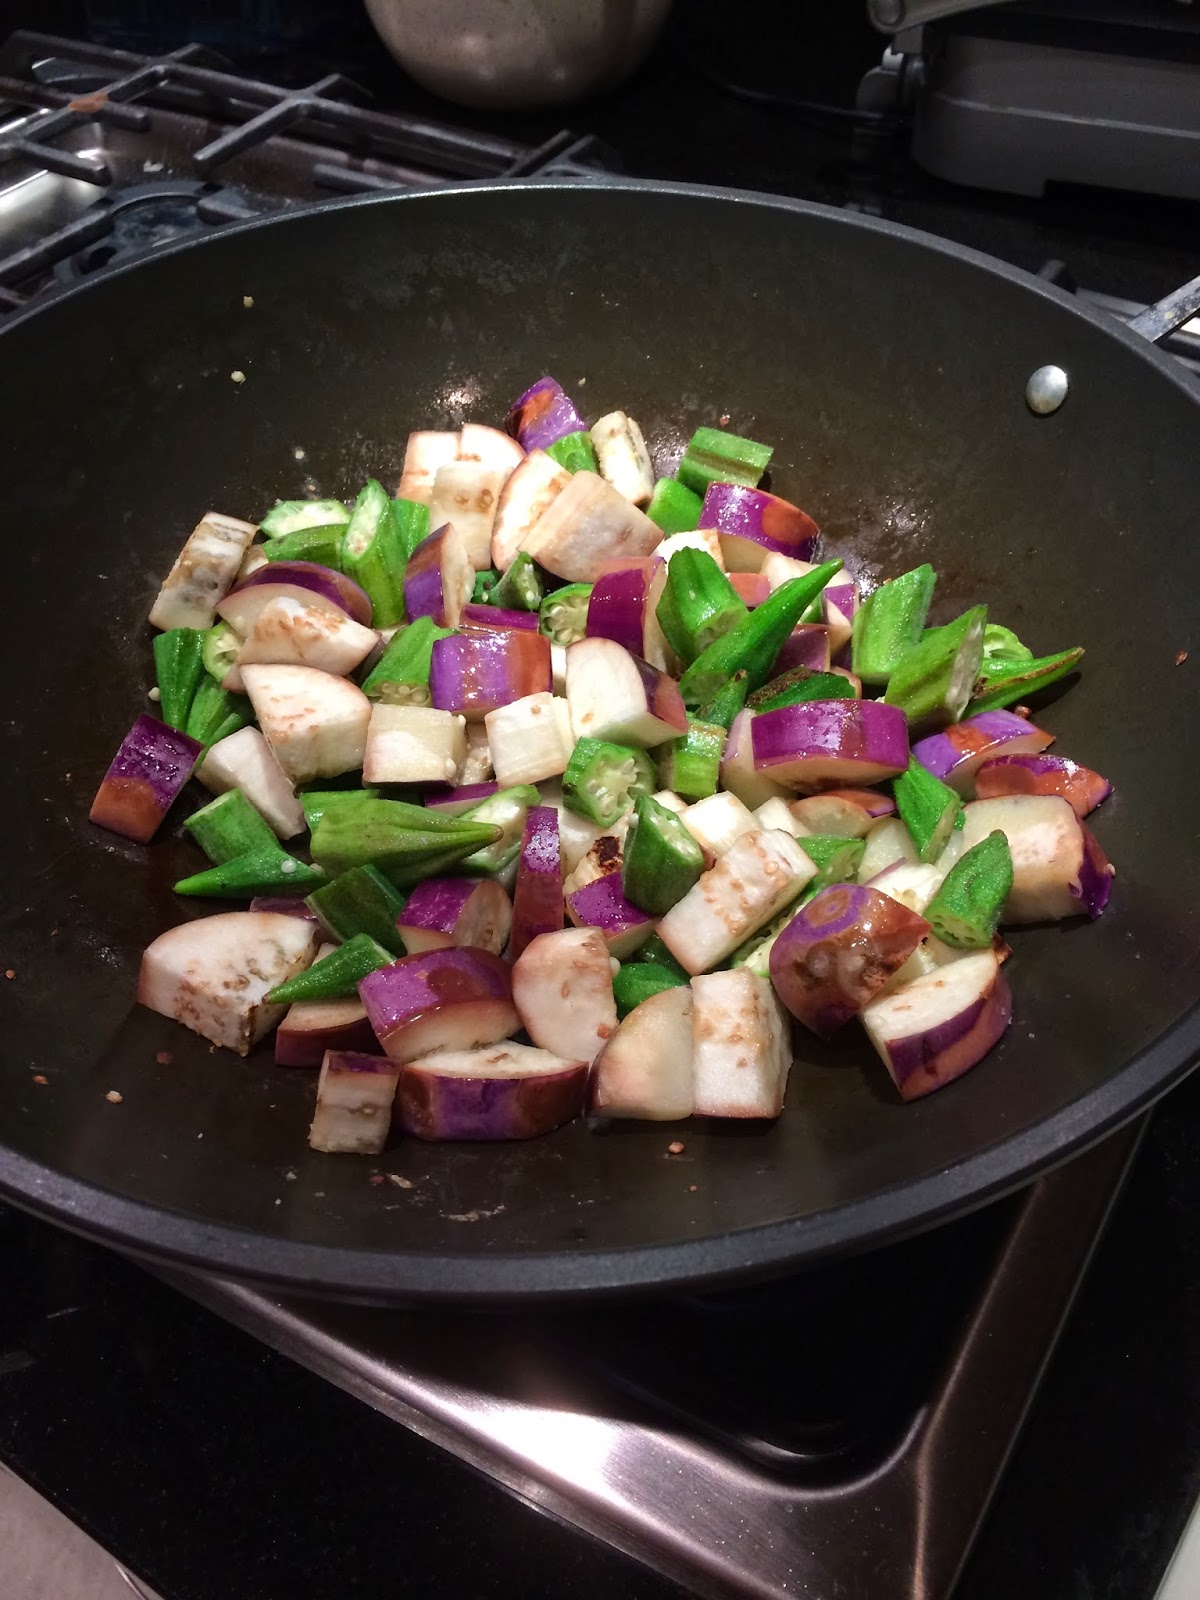
In addition to the packet, the recipe on the back requires 2 eggplants, 3 oz of pork, and oil.
I had some okra in the fridge, so I through those in too.
I served the dish with some noodles, it would also go really well with rice.
All in all, I really like this packet. It was easy to cook, and took about 20 minutes to make. It tasted like the spicy eggplant dish I order from Chinese restaurants. I would definitely buy it again, and also try other flavours.
Have you tried these before?
xoxo
~meesh